Many people see your Instagram feed and think this content came together with just a snap of a camera. Many don’t understand there is much more that goes into your blog pictures behind the scenes. Starting out blogging I didn’t truly understand that. I would just go out and snap pictures randomly and then when I looked at the images I would be disappointed at the quality. To be honest I felt my image quality played a part at not successfully getting brand partnerships. Brands expect to have a certain quality level when they are paying their dollars. If they don’t see that quality then they are likely to pass on working with you. I had to be real with myself and consider this may be part of my problem.
It is Never Too Late to Change Yourself or your Business. In summer of 2018, I started the journey of working to improve the content I produced. Let me say this is not an overnight process. It does take time to consistently create blog pictures you love. I have been guilty of blurry, dark or overexposed images. In 2020, I am not saying that I don’t still have room to grow, because I am always evolving with my content. However, I can say that I stand behind my images, as I feel they reflect the quality level I have set.
I remember the days when I used to look at others feeds and wonder how to get my feed look so pretty. I have been there so I want to help anyone in the process of still not loving the quality of their content.
Disclaimer: My feed is not one of those 1 tone cohesive feeds. While I do have a general look for bright and airy with white undertones I don’t make it my goal to have a cohesive feed. My goal is simply to love each image individually. I want to put that out there because I don’t put all my content for the week together and post based on how they will look together.
ALSO, I do not use presets. I edit all of my images individually. As does my photographer when I shoot with her. I personally have not been successful with presets. The ones I have tried I end up looking too red or orange. I am not saying don’t get them a try. This has been based on my experience. I think they can be really beneficial if you are not great with editing.
Essential Tips to Help you Improve your Blog Images
Strategize on the imagery you would like:
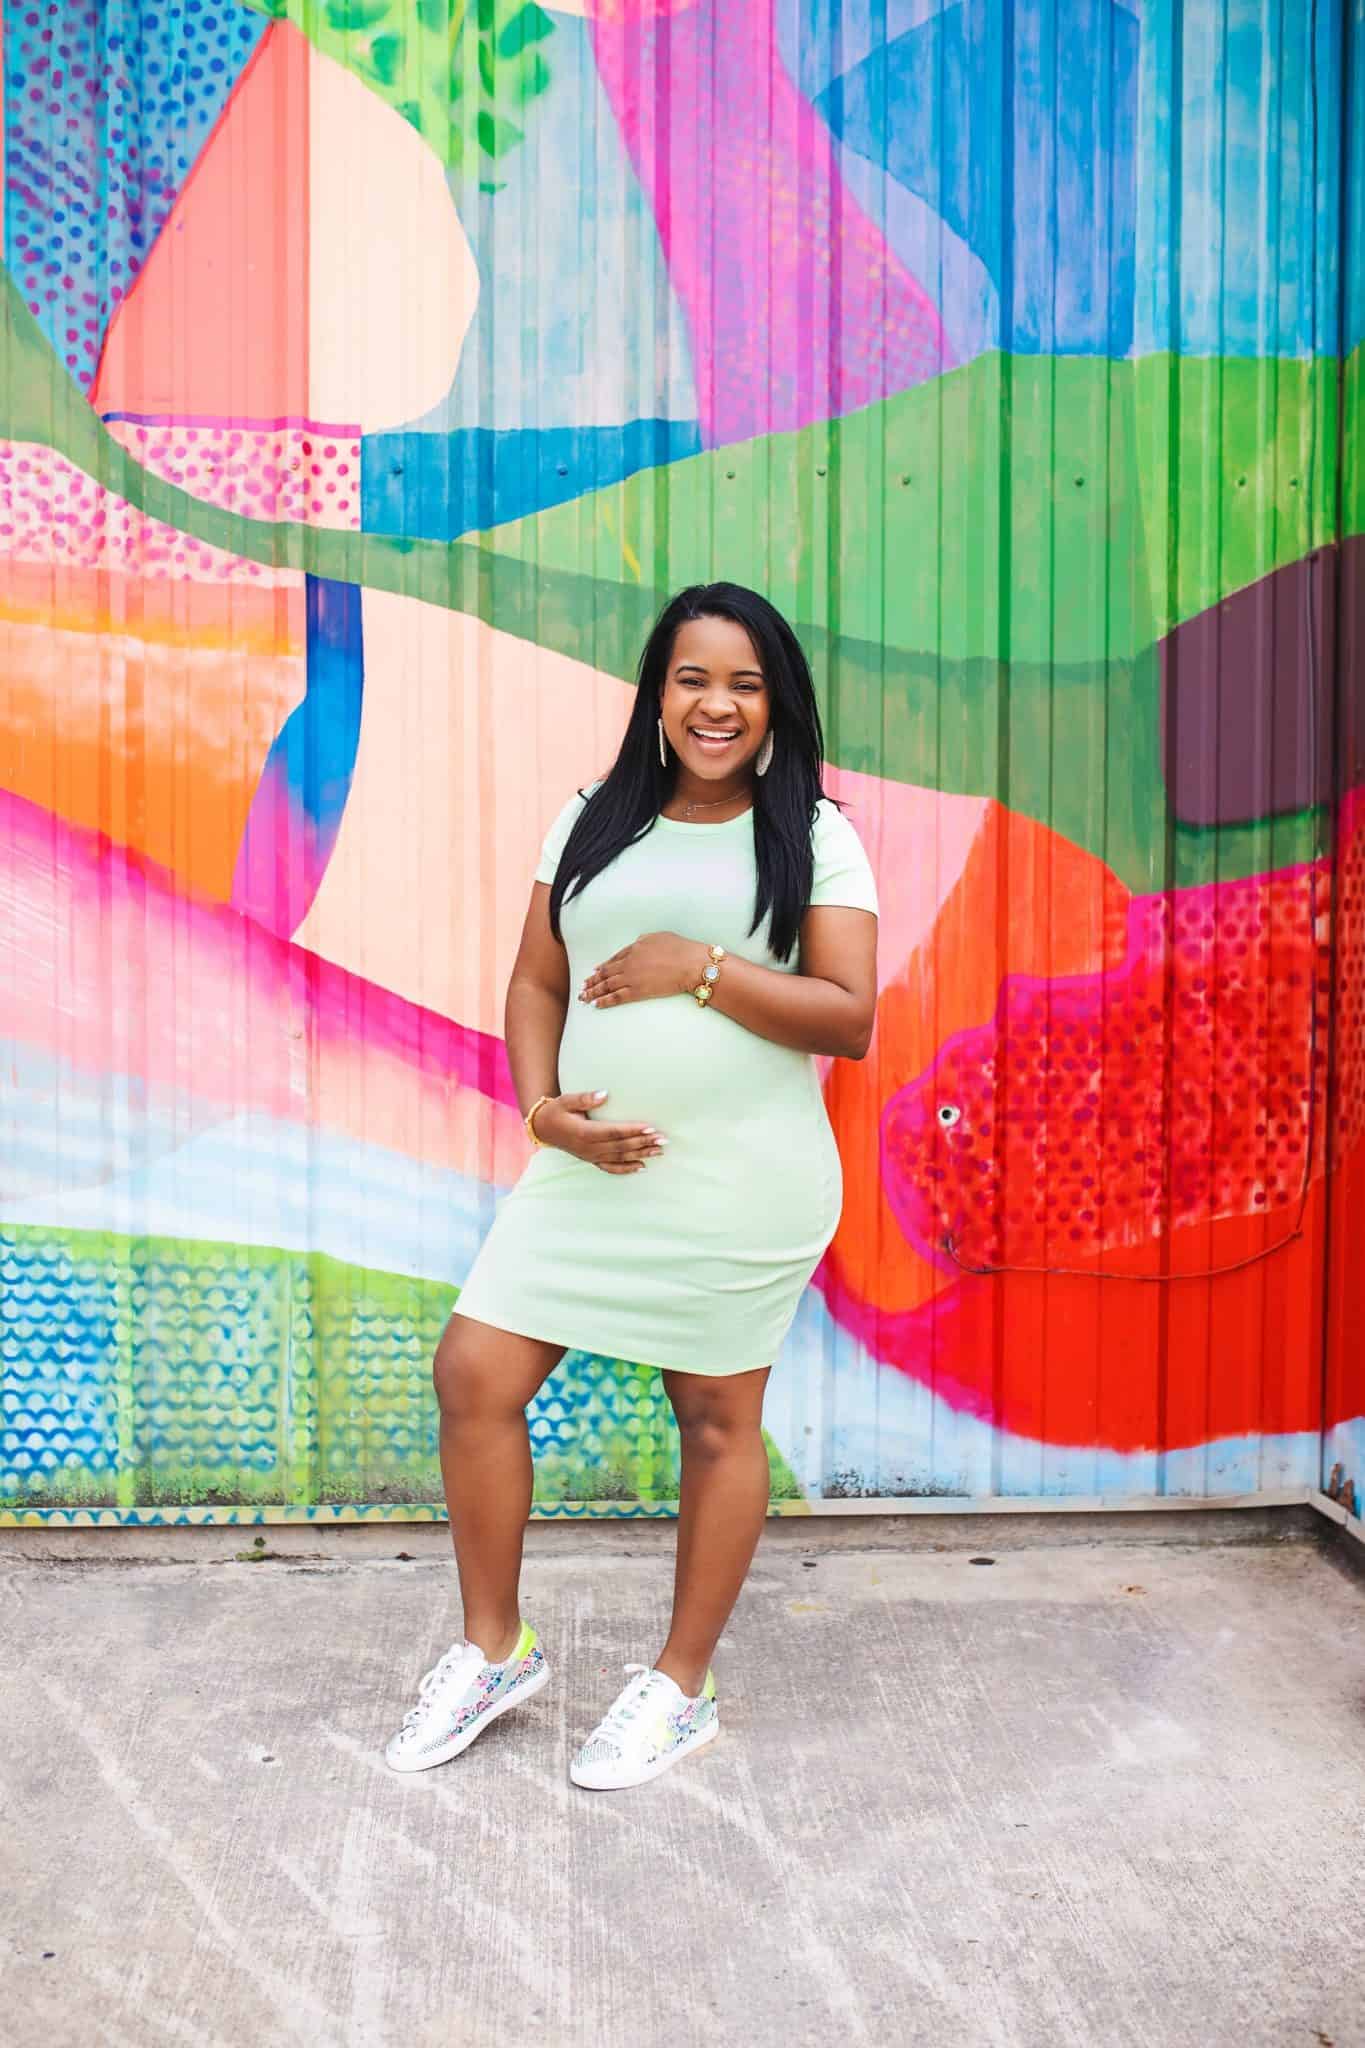
Before I could improve my images I had to strategize. Ask yourself…What do you want your “look” to be? Is it bright and airy, high contrast with dark undertones, is it colorful? These are all things you want to consider. What feeds do you love? Browse fellow instagrammers feeds and see which feeds inspire you most. For me, I love bright and airy looks, and while I don’t always accomplish that is the goal. Knowing the aesthetic you wish to have will help you with picking your photo locations, and how you edit the images. Example: If I don’t typically shoot in locations that are really colorful (like graffiti walls) or the image that has a lot of black background. I gravitate to white or neutral backgrounds.
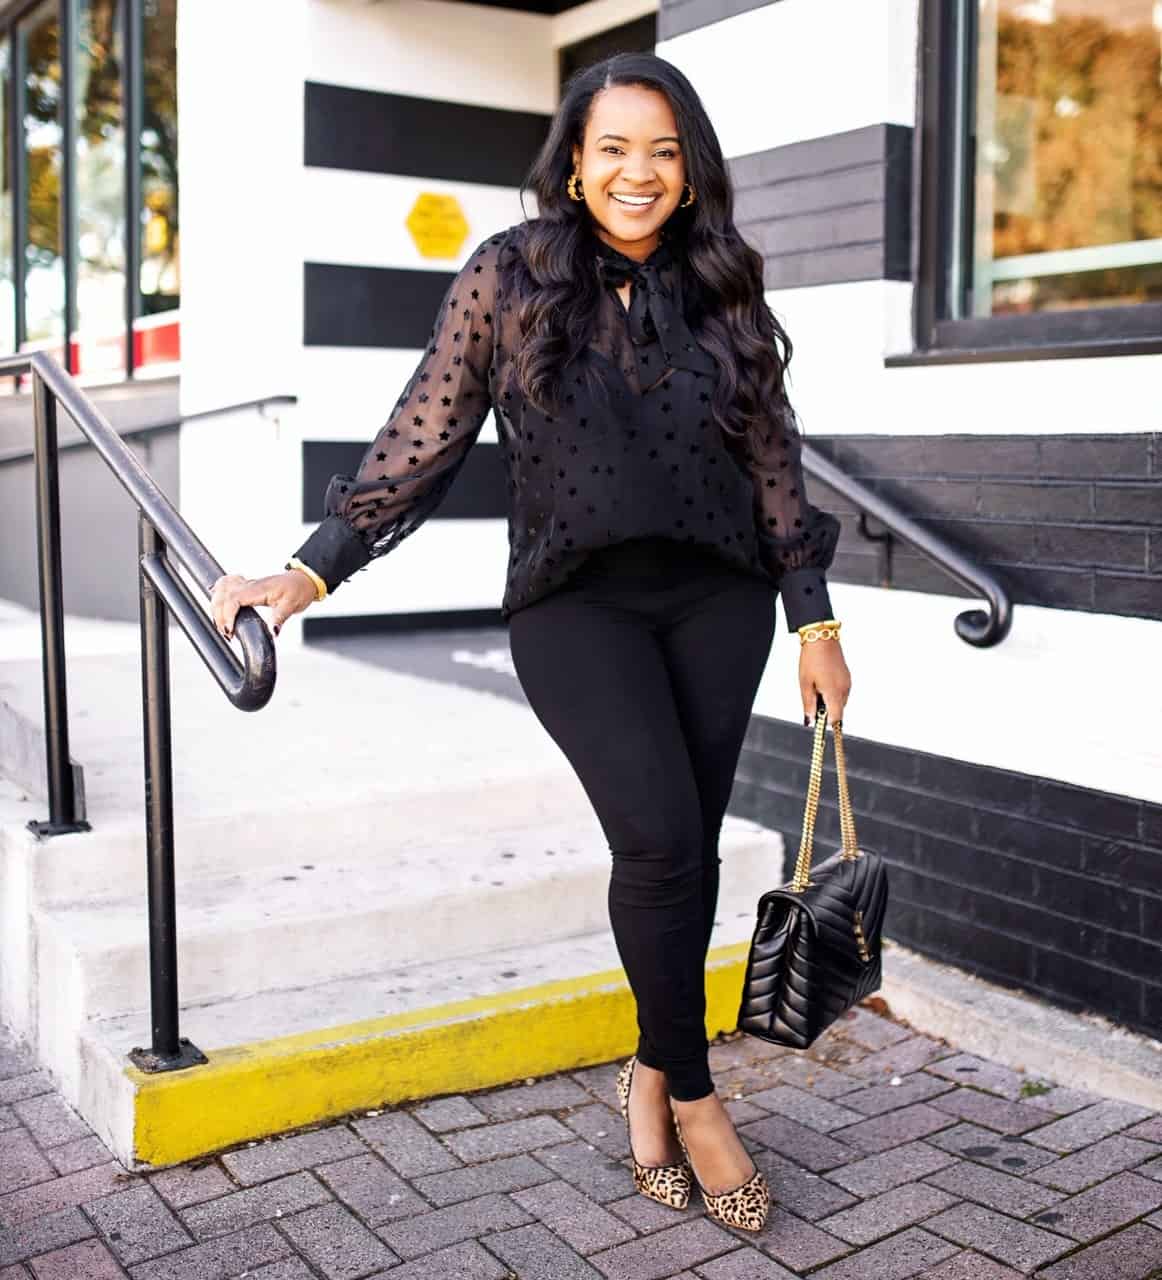
Here are a couple images that are shot that are not my normal backgrounds but worked for the content.
Colorful backgound
Heavy black background:
Invest in your Photography:
Sometimes you gotta spend money to make money. This was the case for me. Previously we were shooting on a camera that wasn’t the best and I believe it played a factor in my content. Now in 2020 about 60% of my content is shot with a professional photographer. However, please note that I understand that may not be financially feasible. I will also say once I started consistently shooting with my photographer I received more brand deals.
Hire a photographer:
If you can afford it and you are getting some sponsored deals, I would recommend it. I shoot with my photographer biweekly, during the holidays weekly. Maybe start out shooting once a month or every other month. When picking a photographer it is important to get one that understands blog photography as that is different from family portraits. Look at their social media pages, ensure that you are hiring someone that can give you quality images. I’ve seen some fellow bloggers hire a photographer and the images turn out worse than when they were taking them. Do your research!
Invest in a better camera for your Blog Pictures:
We invested in 2018 a Canon 6d Mark II. This was before we shot with a photographer consistently. Instantly we saw a difference in the image quality. Specifically the sharpness. It was easier to get crisp images. Previously I used to chronically produce blurry images. This camera was a bit pricey but there are other more affordable options. We also use a Canon Gx7 for all our vlogging.
Add photo equipment
If you don’t have the money to get a photographer or camera, invest in a tripod. I know some bloggers that swear by this. It will take some getting used to on posing but definitely an option when you are limited on who can shoot your pictures. I would also recommend shooting grabbing a ring light. This has been extremely helpful with shooting in our home to offset shadows. Along with our video content.
Shop all my favorite blogging photo equipment below:
What about that iPhonography?
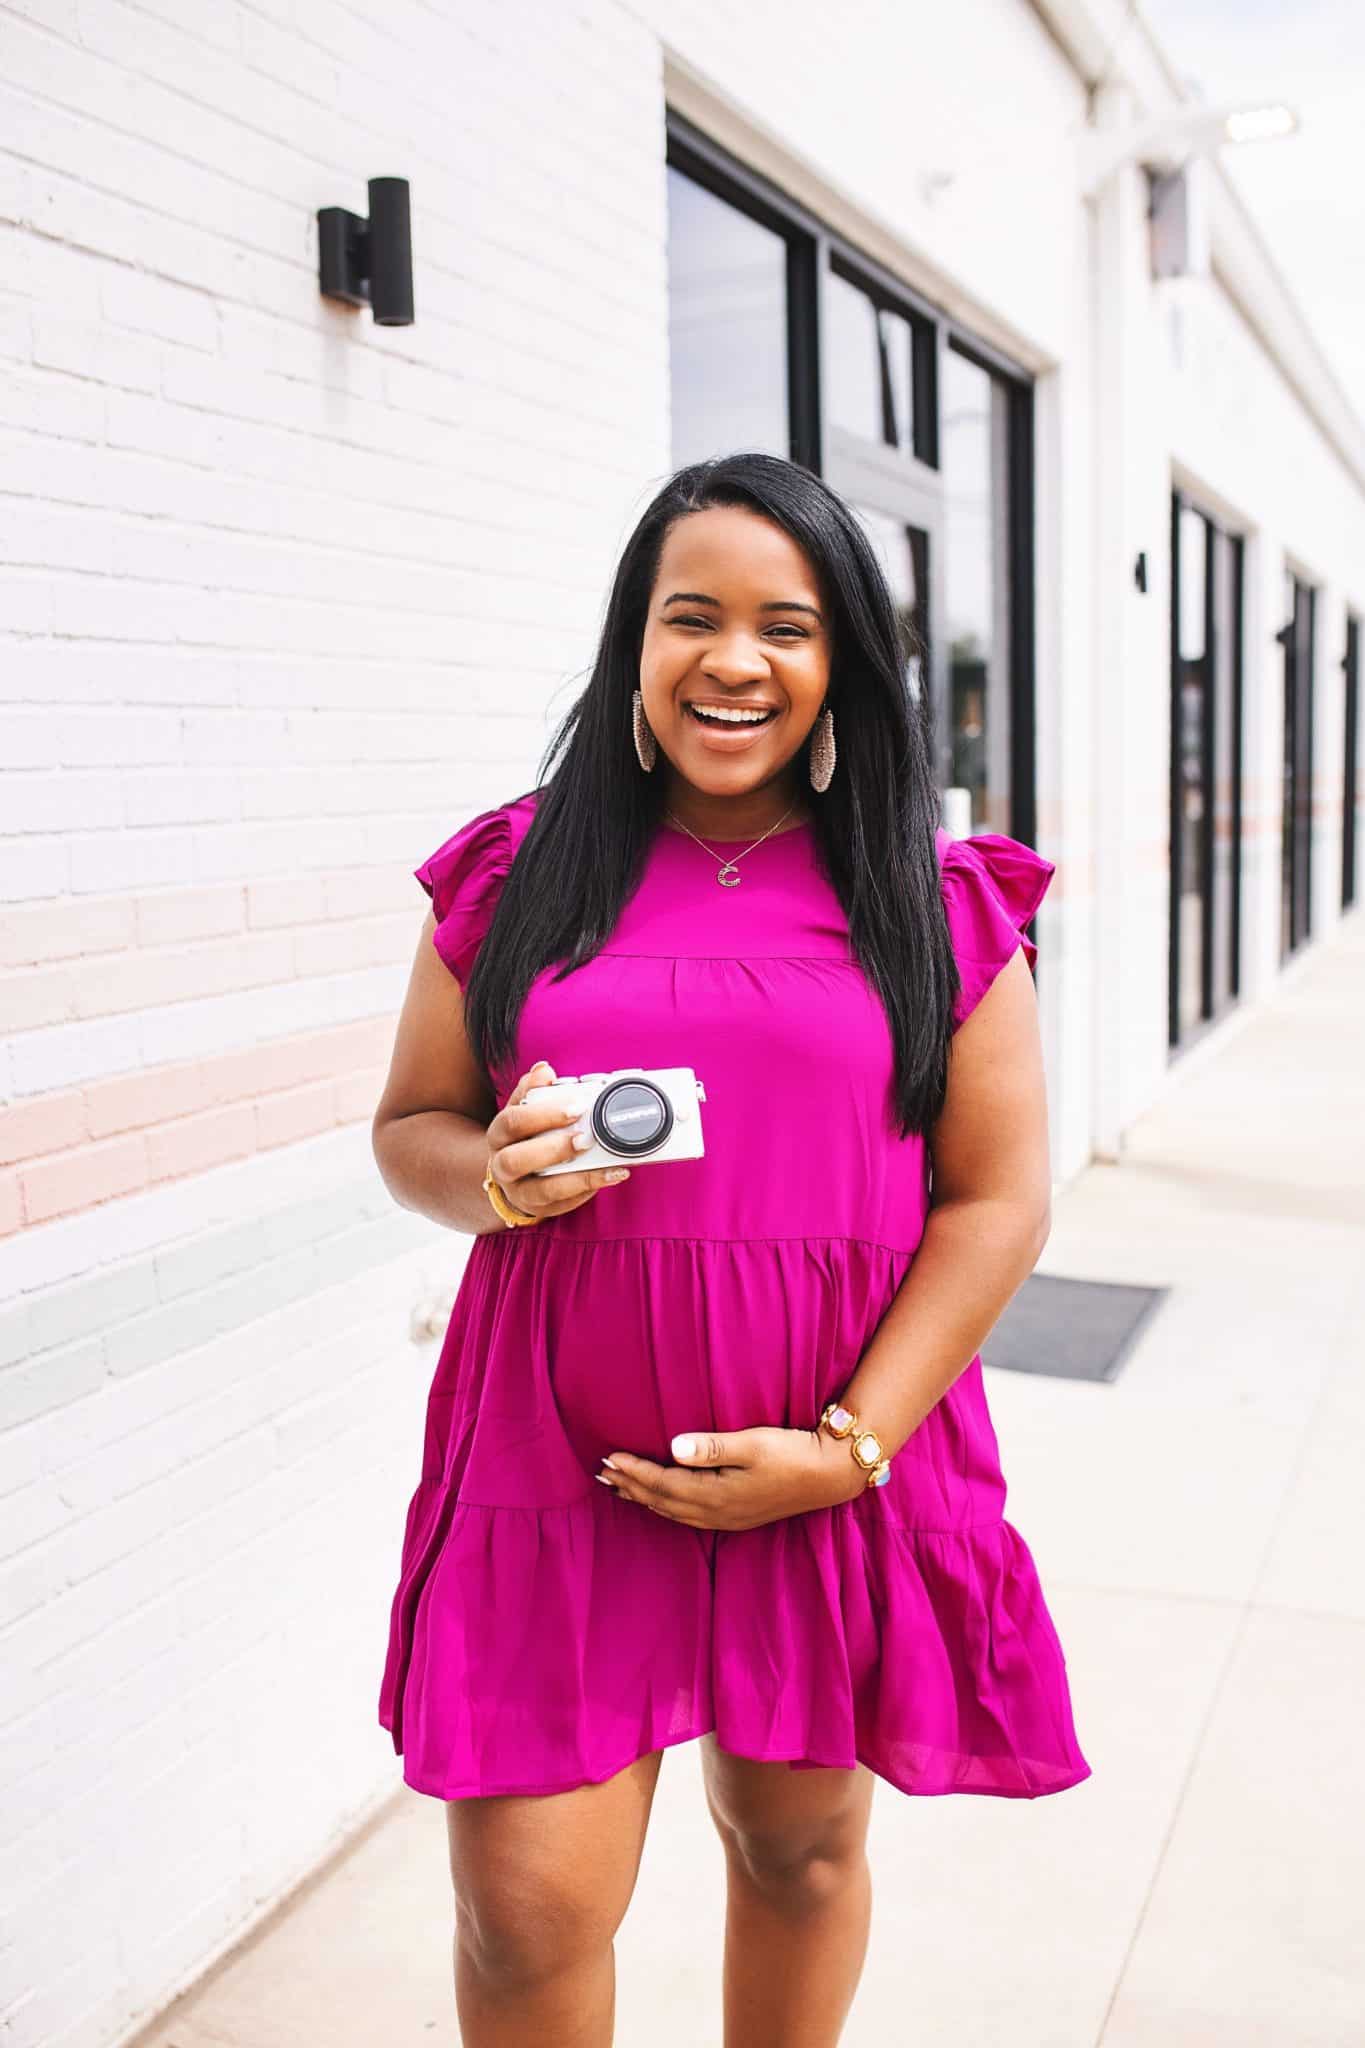
Here’s the deal…Majority of the images I shoot are just my daily life on the go or my try-ons are shot with my iPhone. I know many bloggers that ONLY shoot with iPhone. You have to do what works for you. I will say the majority of my images I shoot for brand partnerships are with a professional photographer. For me, I get a better image quality on a true camera then an iPhone. Additionally, when I am working on brand partnerships I do build in my rate photography so it does cover my photography expenses.
Here is an image I shot with my iPhone
Improving Photo Quality
Shooting content can be tricky because there are so many things to consider in order to get that right shot!
Consistent shoot time
I always shoot all of my images between 9am-4pm. I try to avoid shooting in the noon hour as the sun is at its highest. You don’t want to shoot as the sun is going up or down as it will cast shadows, be dark, and can create grainy images. Majority of the time when I shoot it is in the morning before the sun is out of control. It is perfect when I can shoot when it is a light overcast so we don’t have to shoot it super bright sun. Shooting in direct sunlight can over expose your images and cause you to squint in photos.
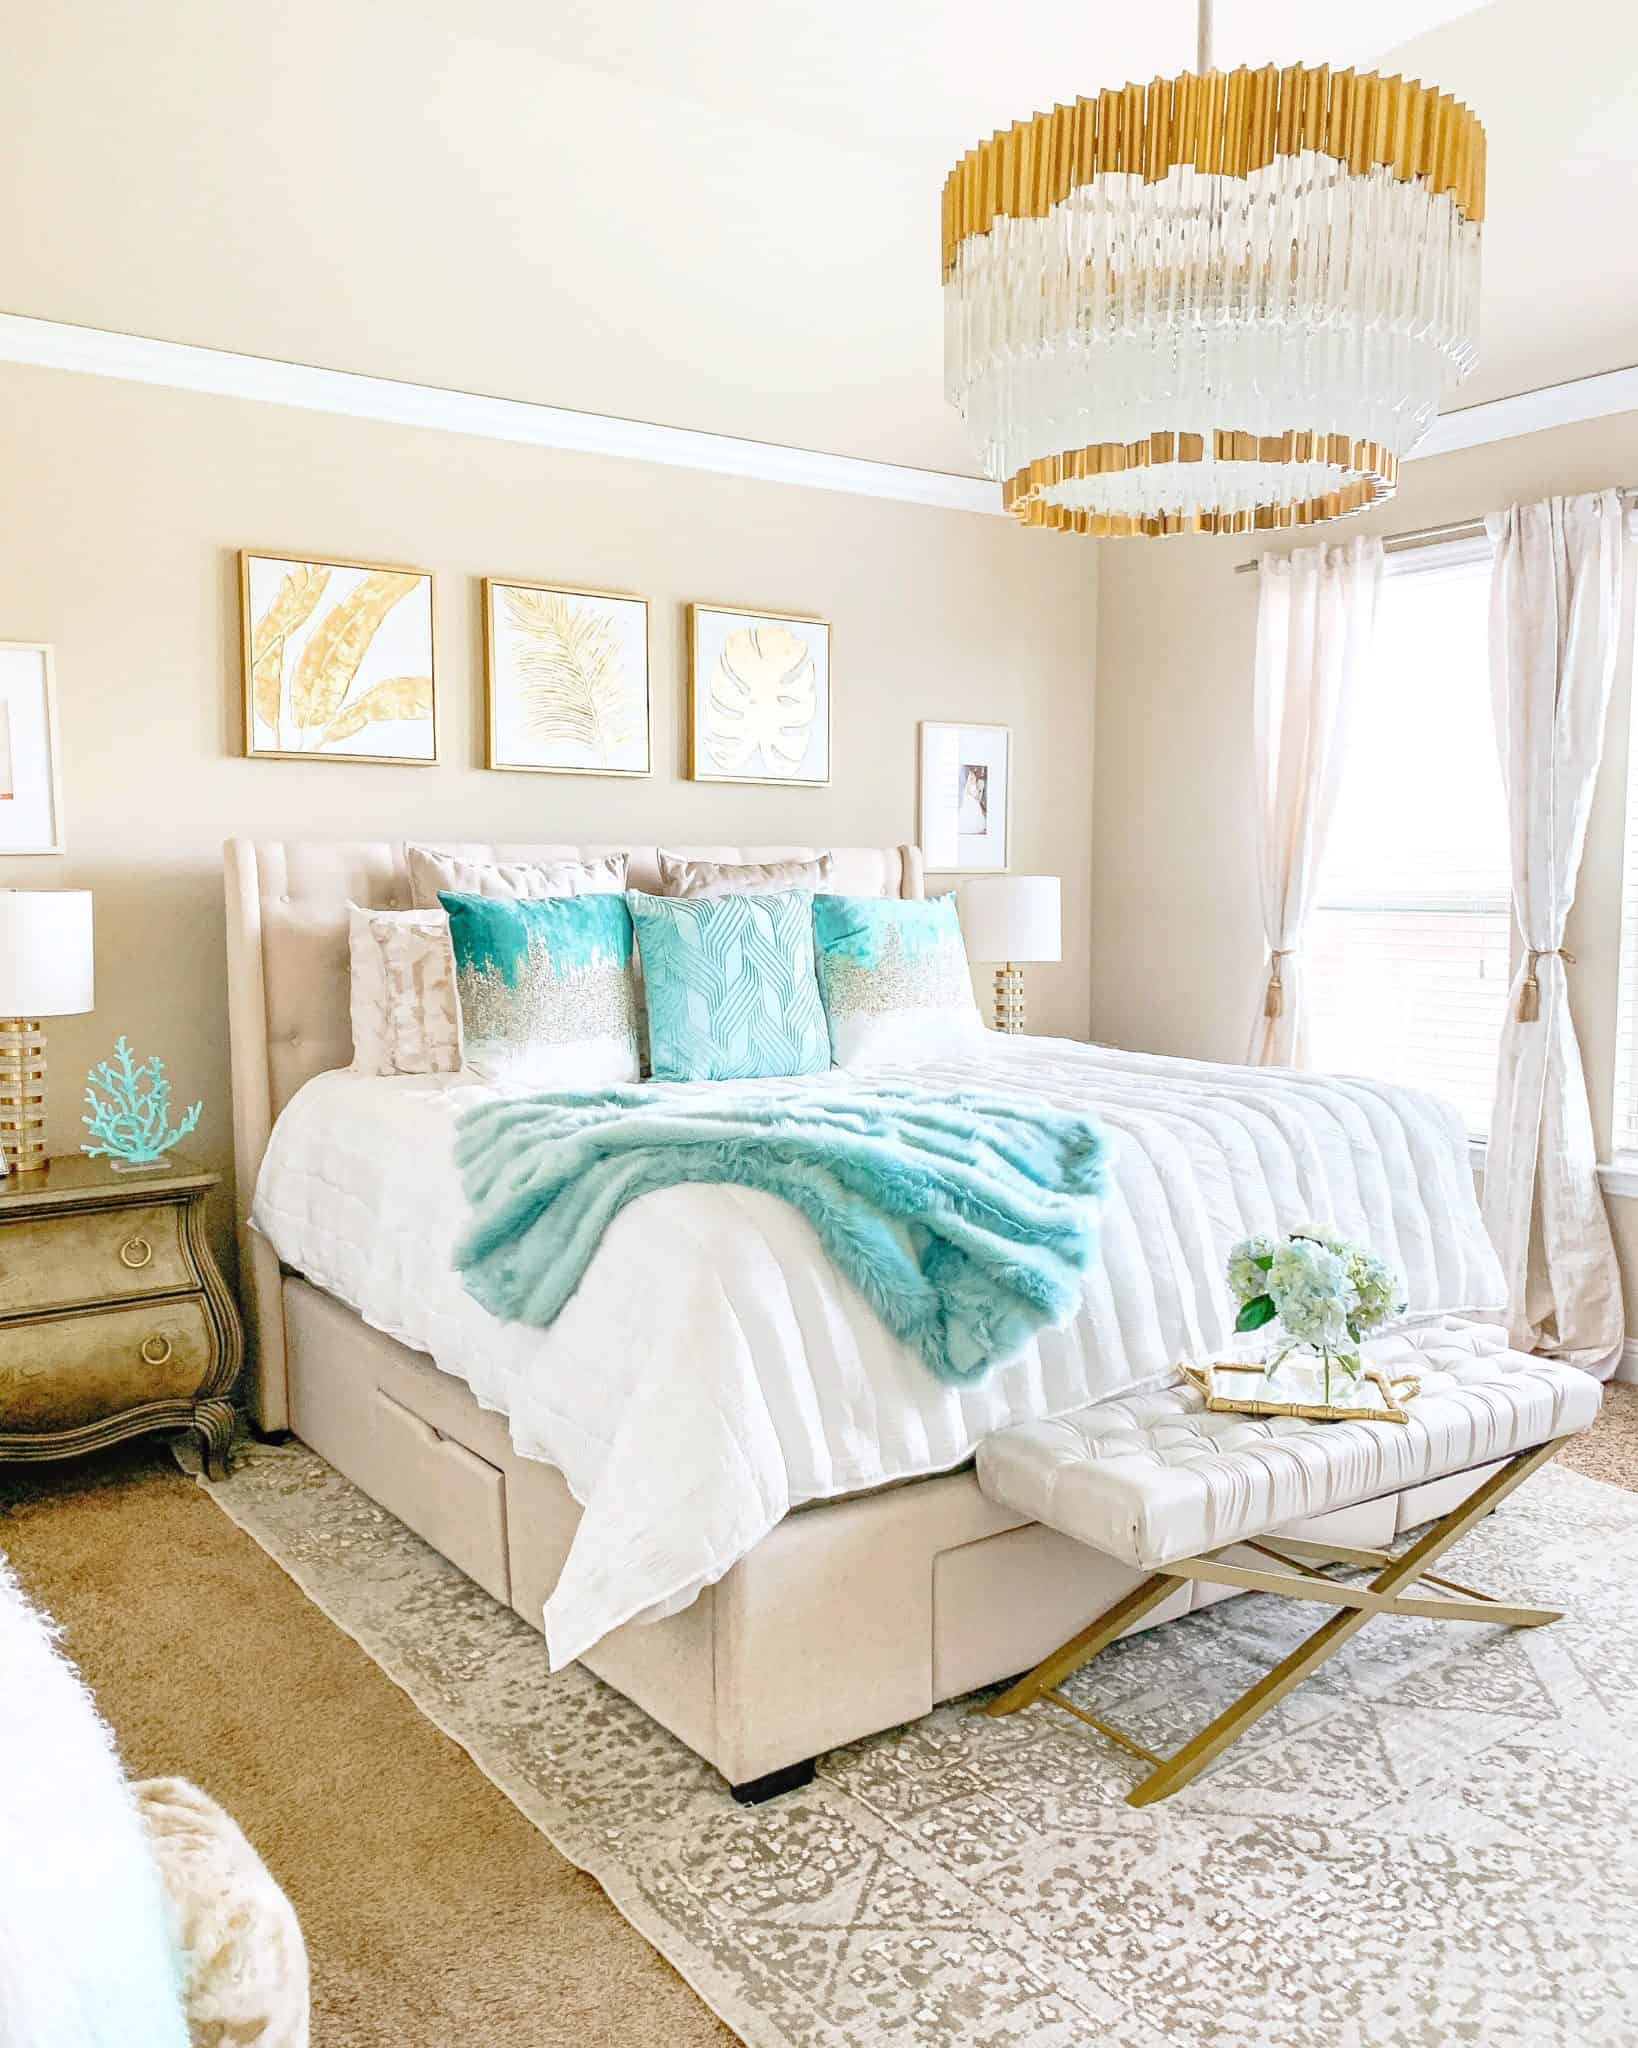
When shooting my try-ons I always do them in the day time when the sunlight is bright. This helps brighten up my room. If it is a rainy day or sun is setting I will not shoot. If you can try to be close to a window as it helps with brighter images.
Don’t force pictures
I used to do this. When I needed to get a shot I would take pictures no matter the environment. I remember early we even went out and shot at 7:30pm when the sun was almost set. I had to realize forcing pictures will not give me those images that I 100% stand behind. If the weather or timing is not right I simply don’t shoot as I know the net product will not be up to par!
Example of when I used to shoot when it was almost dark. It was blurry and so many other things needed improvement. It reminds me of how far I have come.
Give Yourself Time to Shoot your Blog Pictures
Unless you are seasoned with shooting quickly. Give yourself time to get that right shot. Especially if your friend or partner is shooting you. Having kids sometimes I would rush my husband because we had places to be. I felt that it made it difficult for him to get the images crisp and to get the right angle. If you are starting out be patient and block off 2 hours to really give yourself time to shoot your content if you are doing it on your own.
Quick Tip: If you are shooting with an iPhone make sure you hold the camera steady and tap the object that needs to be in focus. Give the phone time to focus to help give a crisp image.
Location is Everything for your Blog Pictures:
I mentioned this earlier but strive to shoot in locations that fit your brand. Location is so important. I gravitate to outdoor shopping centers where I can get many different looks from storefronts. Shoot in locations that are relevant to your brand. Example: I don’t often shoot downtown but high-rises. It is not my aesthetic.
Avoid shooting in locations that will look like a family portrait session, unless it is truly relevant to the content. Especially if you are a family blogger. When I shoot with my family I never want it to appear as we are taking family portraits. I want us to be loose, interact with one another, and not look so scripted.
When I started blogging I lived in an apartment. Looking back at the images I would take in my apartment hallway or courtyard it wasn’t that desirable. Really look at your background, and ask yourself should you shoot at this location? It may require you to get in the car and go explore. That’s ok! You may even have to go location scouting to find places that would be great locations for you to shoot!
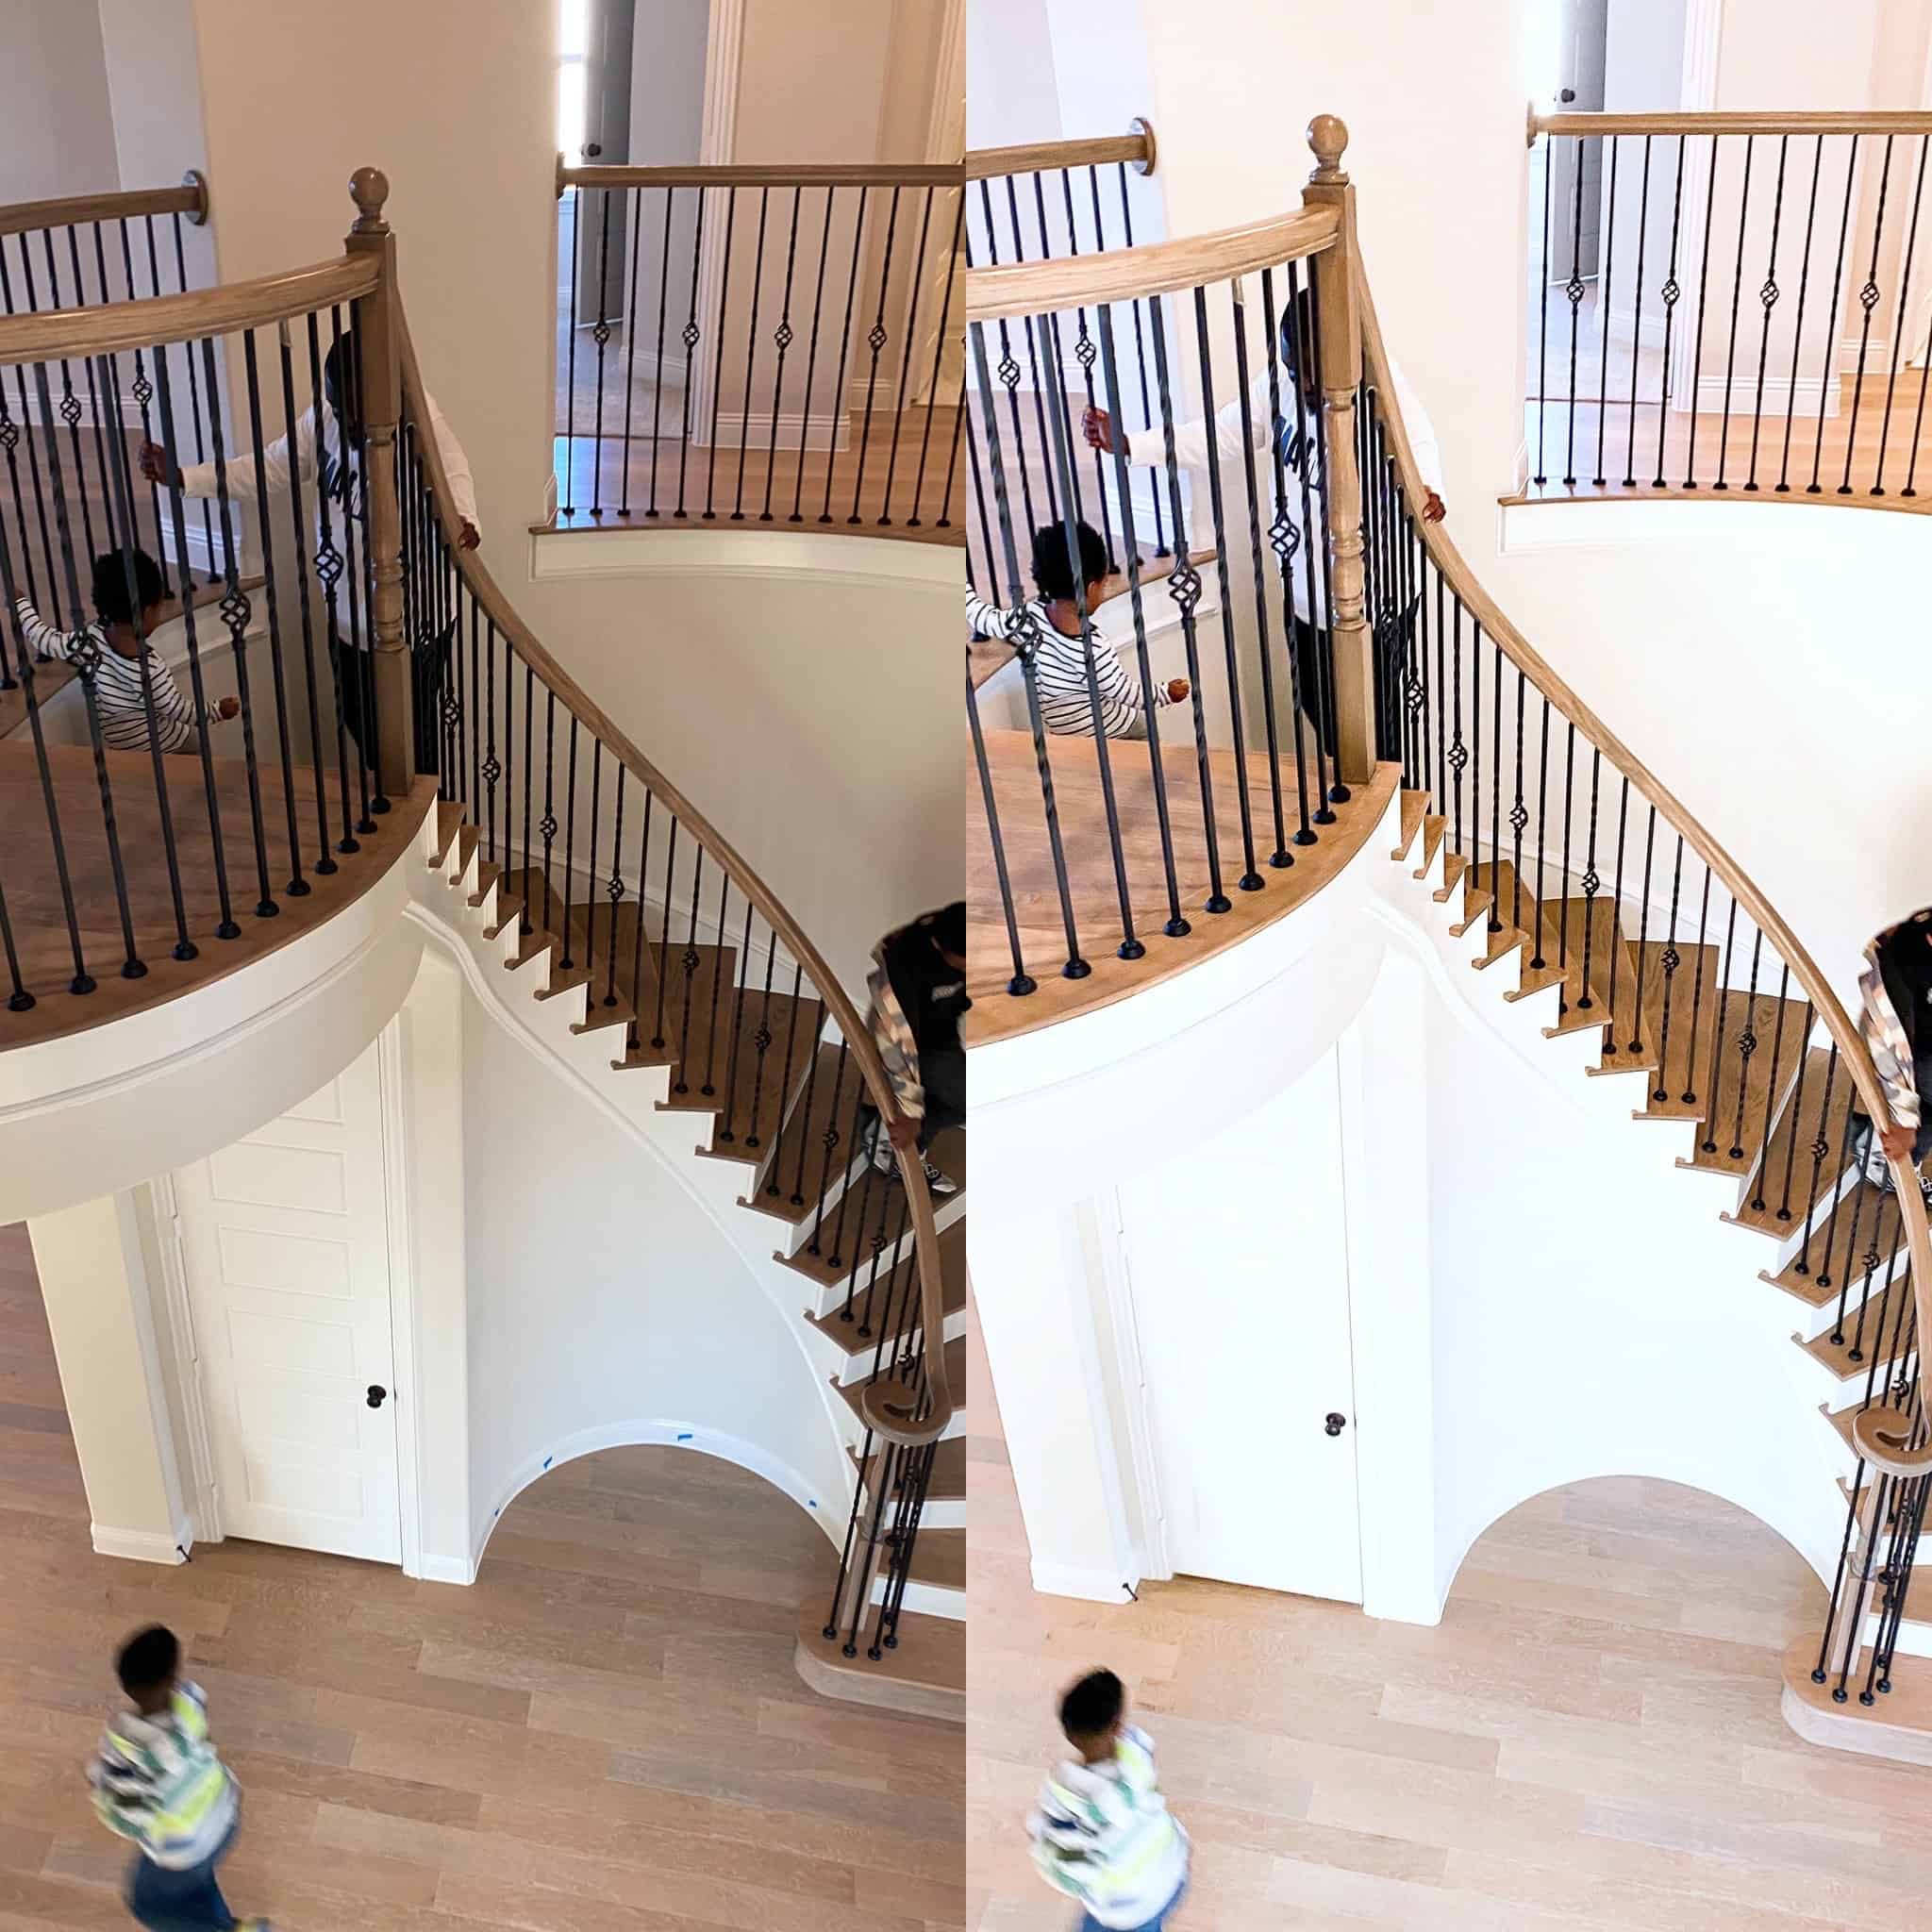
Editing your Blog Pictures:
This is one of the most important aspects of your images. How you edit the photo gives your photo its identity. It can also save a photo that may have been too dark or light.
I use Snapseed and Lightroom apps. I edit ALL my photos on my phone. That is personal preference you can also edit them on your computer with Lightroom. There are also other editing apps, but these are what have been easiest for me.
Lightroom:
Once I shoot an image I first open up my Lightroom and start there. Again, I like my photos brighter so the settings below are how I typically edit.
Settings:
Brightness – I almost always bring this up. Be careful not to brighten too much and overexpose.
Contrast – I stay within 10-15
Highlights – When I brighten it can sometimes overexpose certain aspects I use the highlights to bring that down and will go -10-15.
Shadows – This is key for me to get the bright and white look I like. I boost it up quite a bit to get rid of the dark areas.
Whites and Black – I bring my Whites up and Black down just a bit.
Colors:
My biggest pet peeve with my photos have a yellow tint to them. This is a me thing. I don’t like my whites having a yellow tinge. This can be easily corrected. If your photos are giving off a tint that you don’t care for you can bring the color down a bit. I go to the yellow and slightly make it negative. You don’t want to overly use this as it can make your photo color look distorted.
Additional Settings:
Dehaze – Have you ever felt your photos had a fog to it? If so, this is helpful. I use adjust from 1-10.
Noise Reduction – I use this occasionally to see if my photos appear grainy. Only use it slightly so you don’t soften your photos too much.
Sharpness – If you feel your photos don’t look crisp this is helpful. I typically sharpen it to 50.
Snapseed:
Ambiance – I use this slightly as it makes the objects stand out a bit more. I typically don’t go higher than 10.
Temperature – I like using Snapseed’s temperatures. I don’t like my photos warm so I bring the temp down to about -5.
Selection – I use this feature most. This is great if you have a portion of the photo that looks dark. You can use highlight a section and adjust only that section.
These are all the adjustments I use to get the look for my aesthetic. This will vary depending on the look you are going for. If you opt to use a preset, keep in mind that once you apply the preset you will likely still have minor adjustments to be made. Most times when you buy a preset it will give instructions to help you apply the preset.
Be patient with your photo editing. It takes time for you to get the look that works for you. It takes me only a couple minutes now to edit my photos since I know what I like. Trial and error is the best way to figure it out.
Get feedback on your Blog Pictures:
If you have some trusted people around you. Always ask for feedback from people that will be honest yet constructive. I regularly ask my husband and friends to provide feedback on imagery before sharing it. Additionally, if you have been consistently sharing certain content with your audience and it is not performing well. This may be an indication to switch up your content.
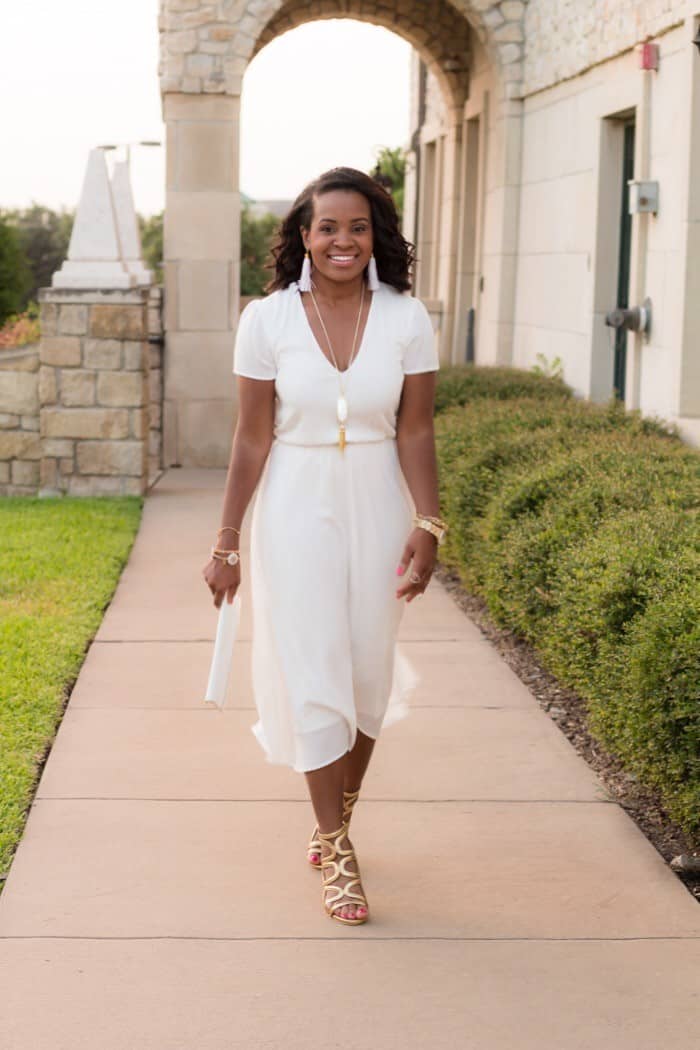
Dress Details here
It is so important to remember through this process that even when you figure out your blog pictures editing process, there will always be room for improvement. Strive for progress not perfection. You are always evolving so the look you had in 2020 may change next year. Also know that sometimes you will get it wrong, and that is ok! It is all part of the process.

Shop the Post

THE DETAILS
All Items are linked on pictures above or click text below
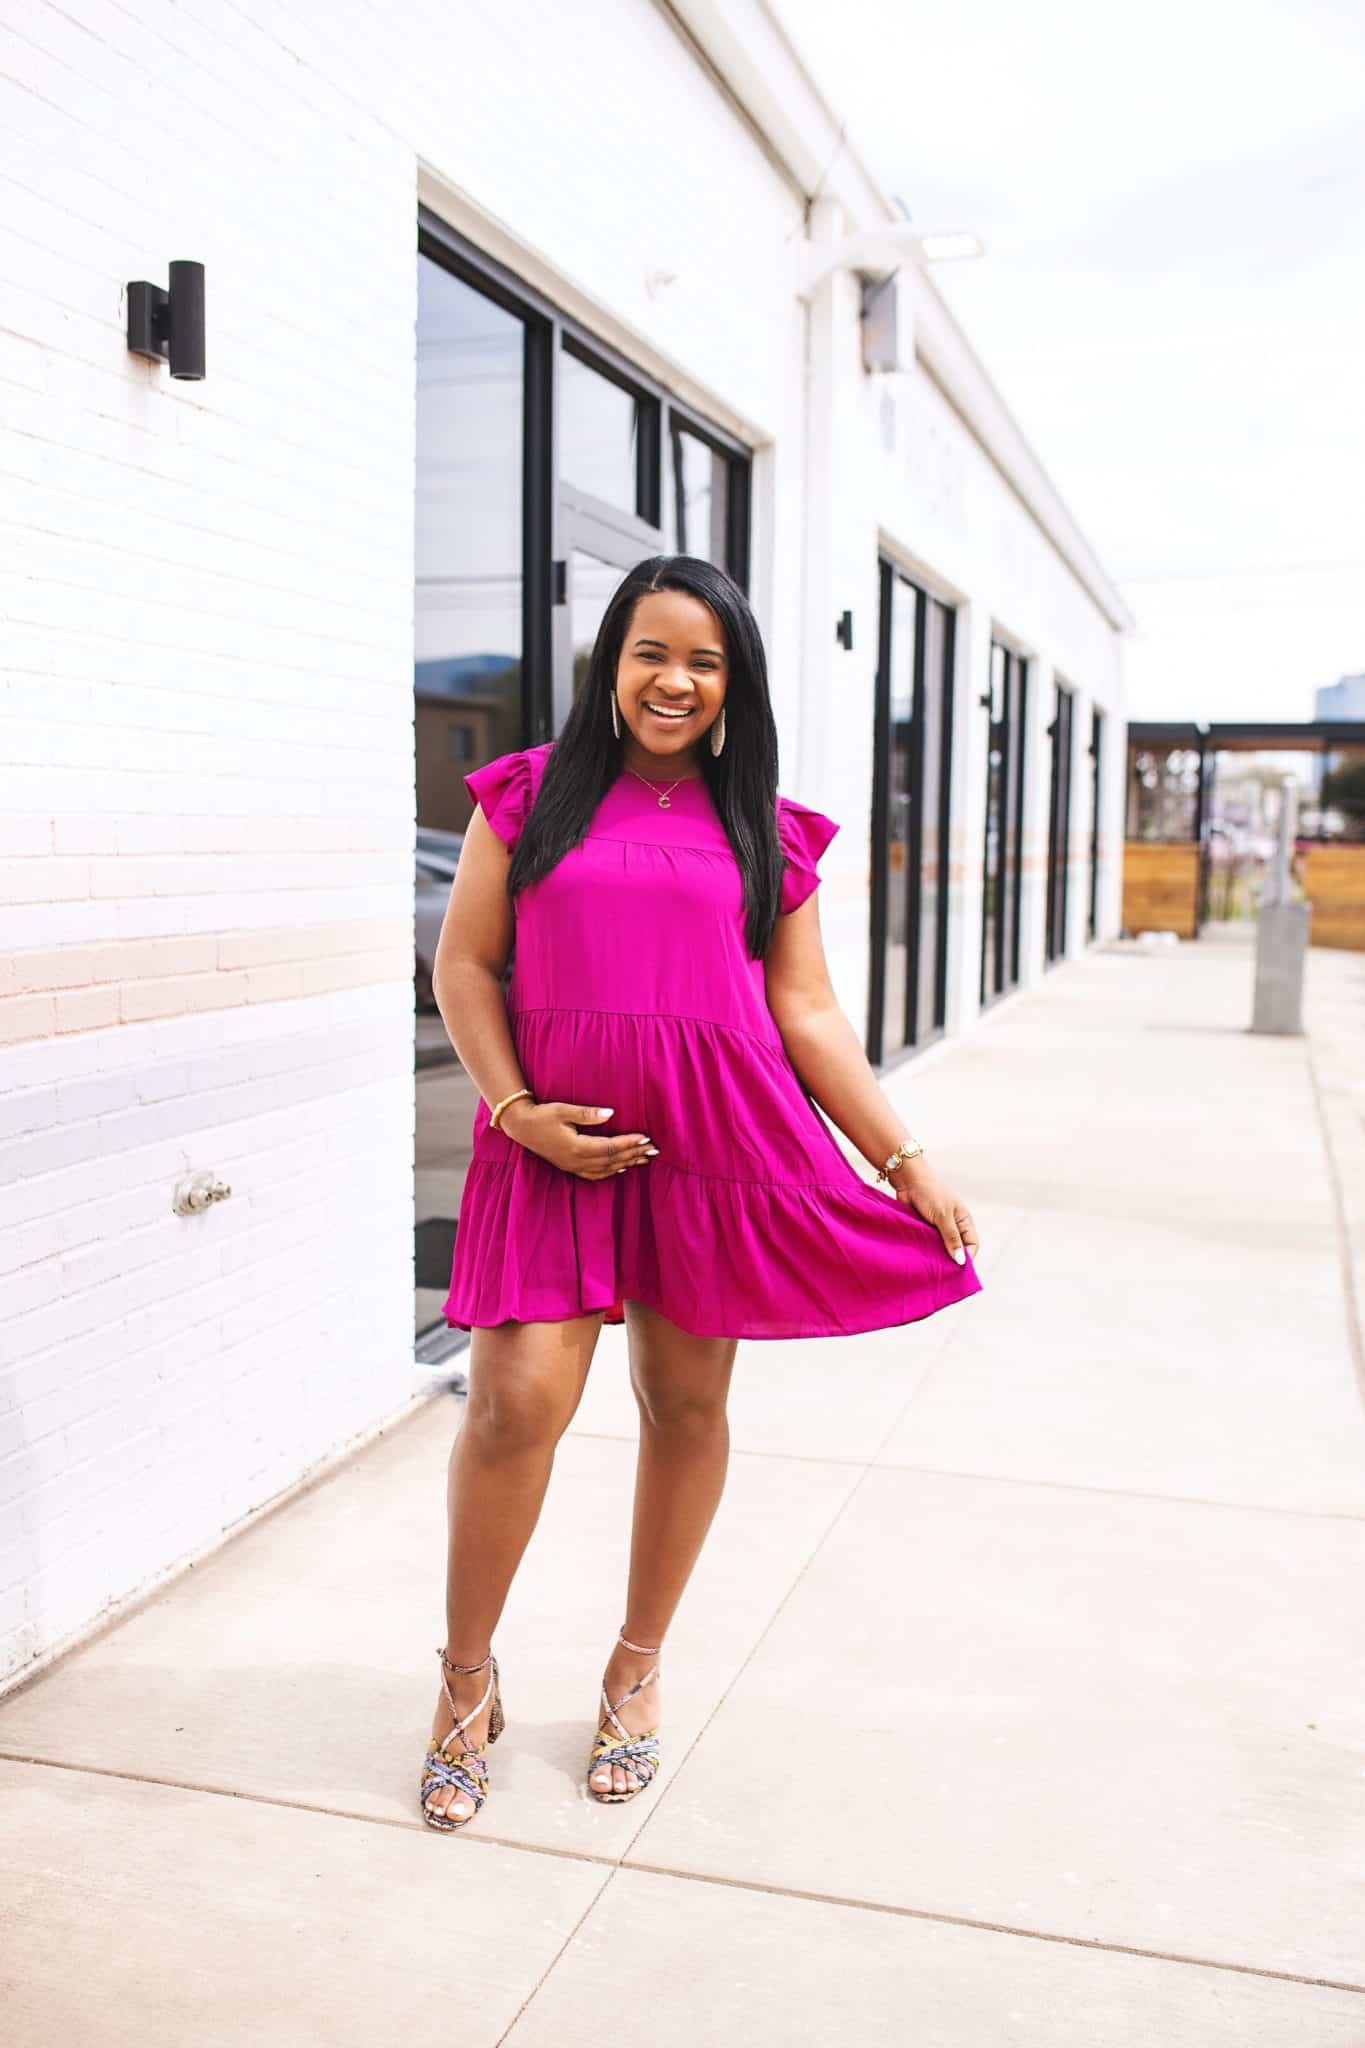
Magenta Dress | Snakeskin Shoes | Lime Dress | Sneakers