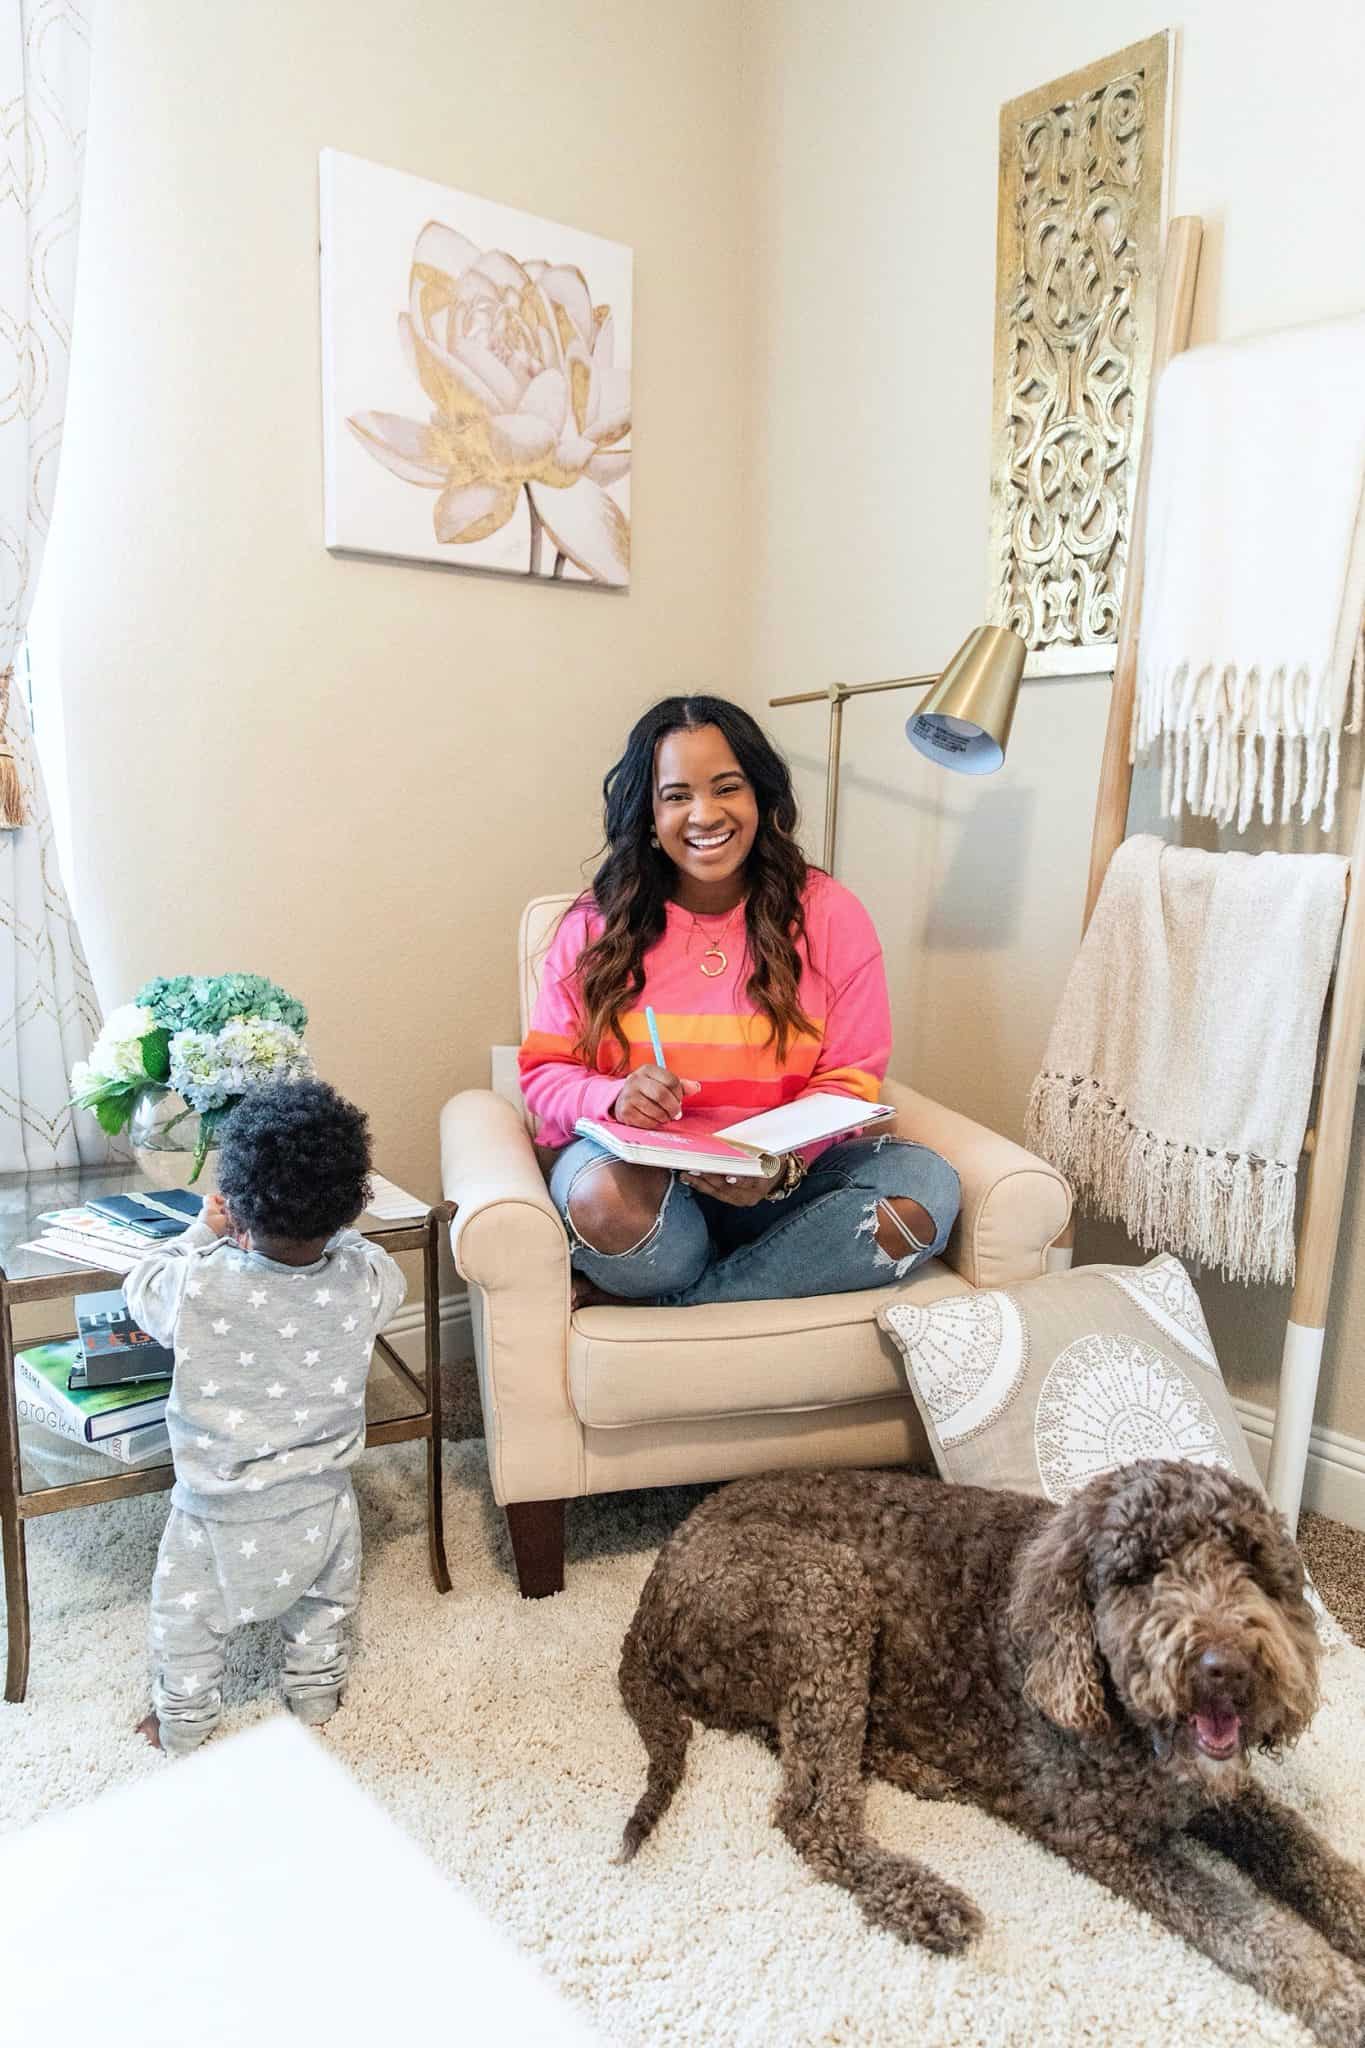
My life is pretty busy managing our house operations, working full-time, along with running my blog. All of our schedules are busy. People ask me how I keep it all straight. I always say being organized, and planning out our schedules. I recently shared a blog providing tips on how to organize your family’s schedule.
However, I understand that part of the road blocks with planning starts with simply what do I purchase to start planning and how to really use my planner. Using a planner can really help your life function more efficiently if you use the tools right. I teamed up with Erin Condren to share some of my favorite products, and how to get you planning efficiently! Life can be overwhelming especially if you don’t have an effective system.
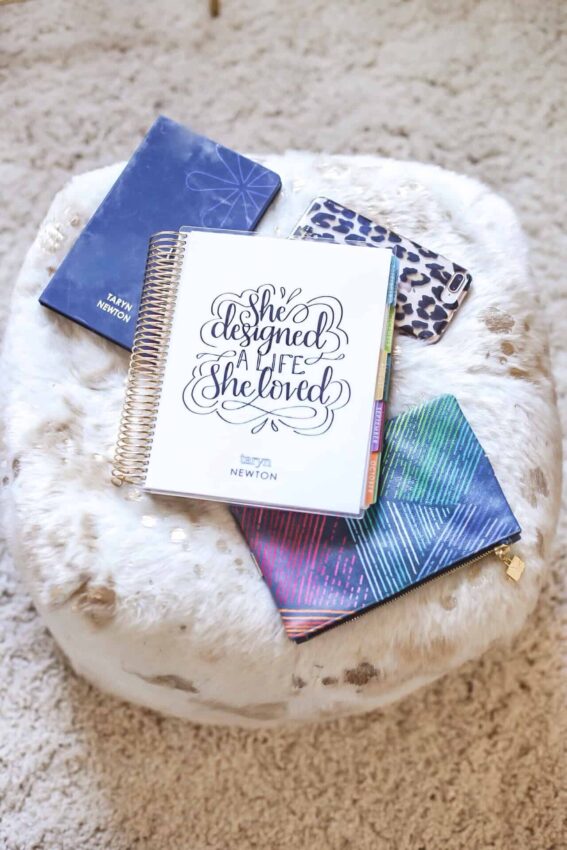
Step One – Grab Your Supplies
You of course cannot be planning without having the right supplies. This can get pretty overwhelming, because there are so many to choose from. Here is a list of the key items I use when planning, anything above that is just extra. Yes, I love having the planning extras but it is not a necessity.
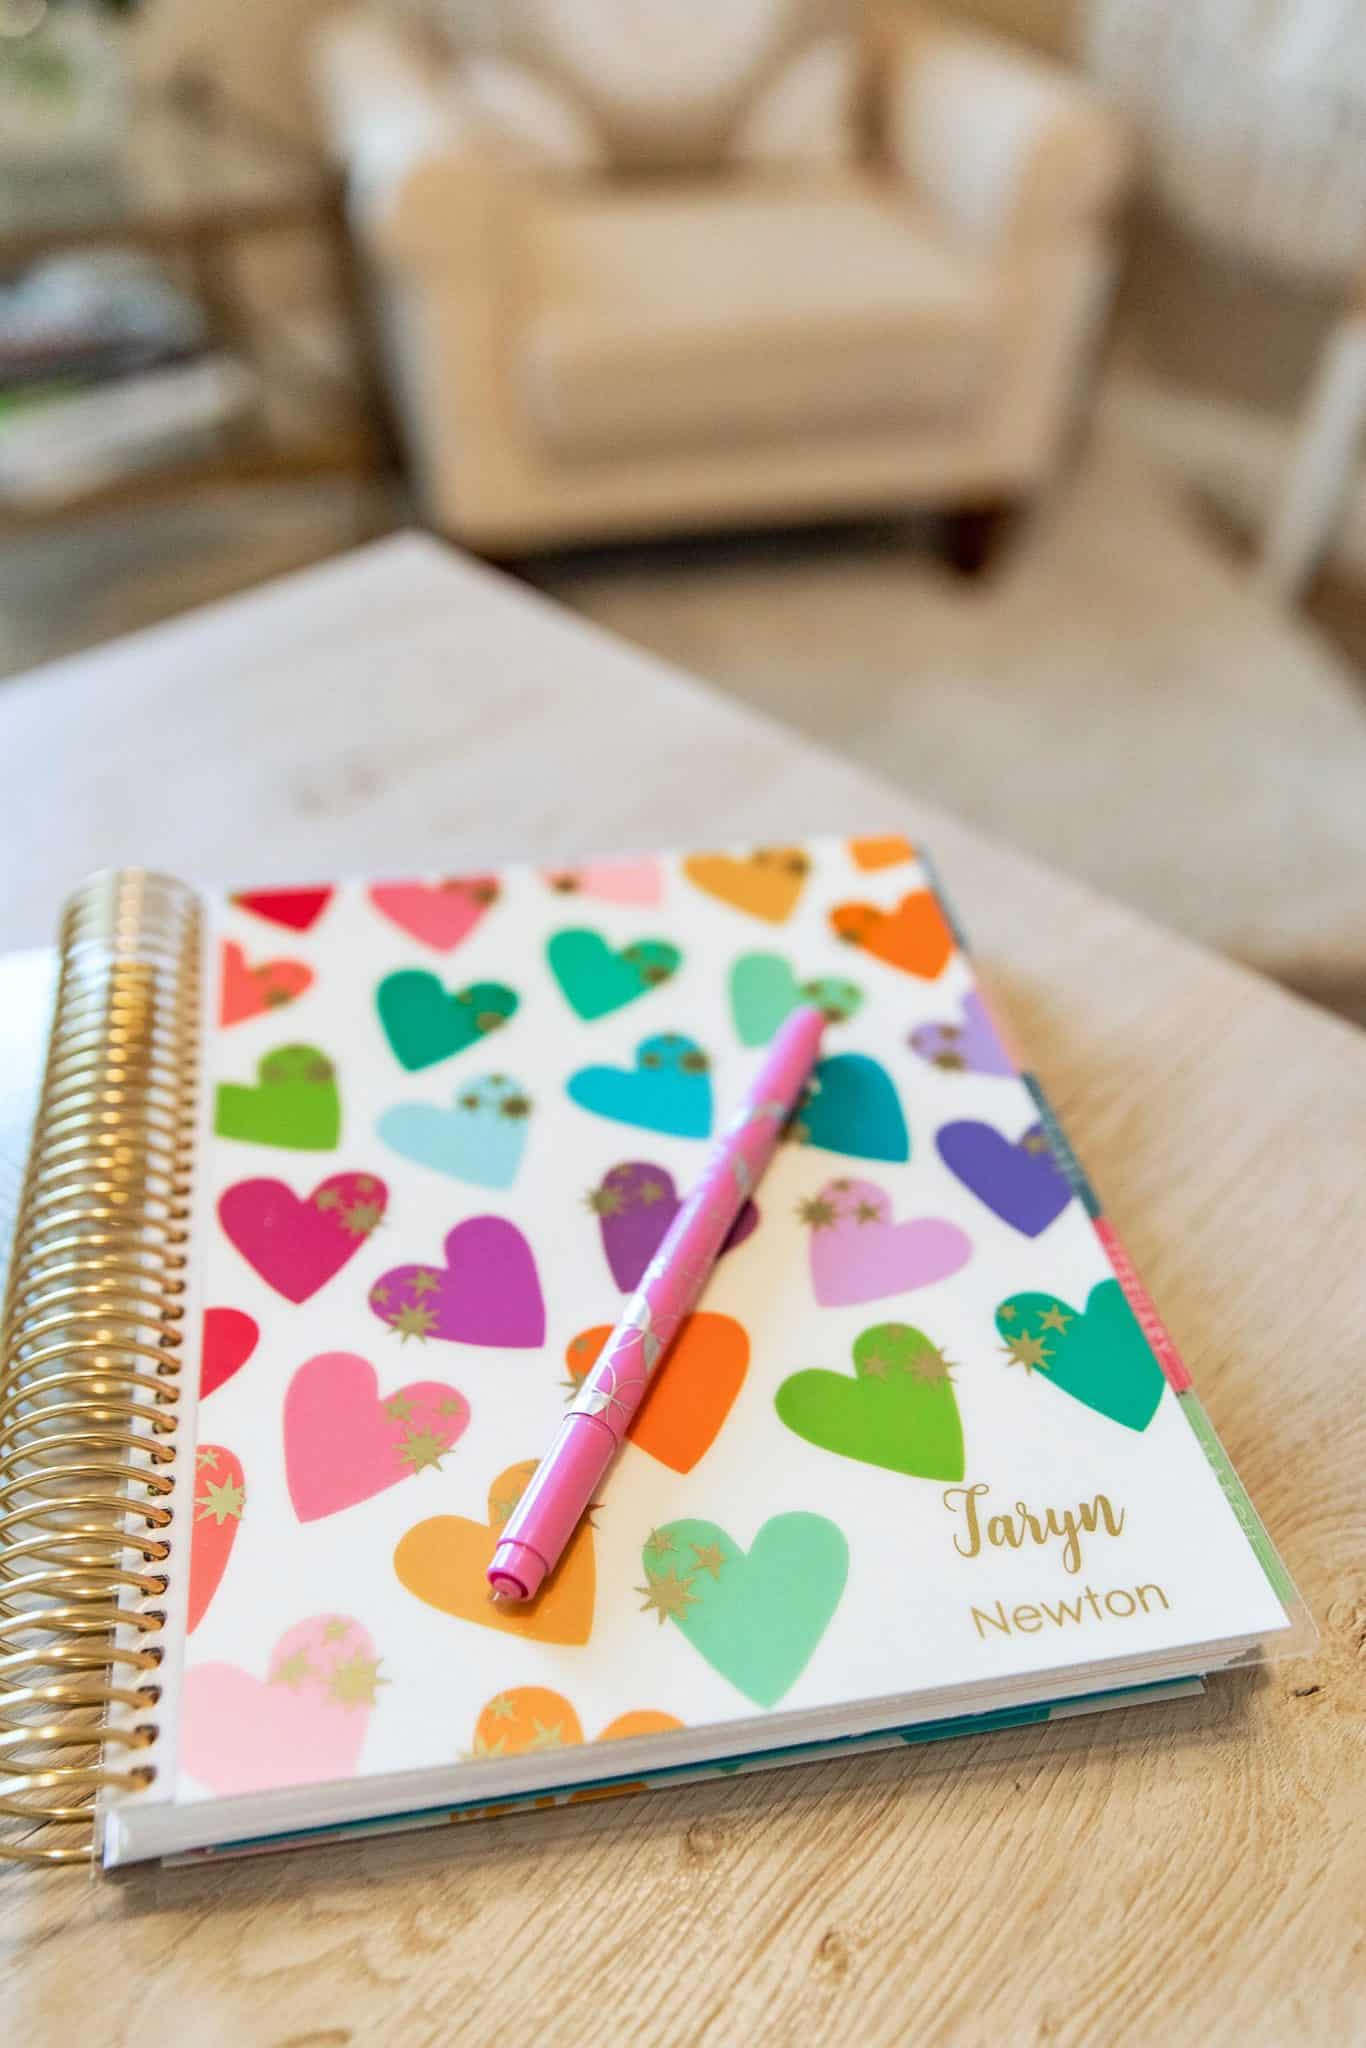
I personally use the Erin Condren horizontal layout. The horizontal gives me more space to write out my tasks in the weekly lay out. However, if you are not using an EC planner just make sure you have space to write out your weekly items.
Planner Item List
Markers – I like using the dual tip markers because it has a fine tip along with a regular size. Definitely use a fine tip when writing a lot of details.
Stickers – Adding stickers can shorten what you have to write, can make details stand out, and motivate you with some of the messages.
Dashboards (Comes in a variety of extra snap-ins to help you plan)
Page Clip If you are planning every week it’s easy to lose track keep it divided with a page clip.
Step Two – Get to know your planner
As I mentioned before planning can be a bit overwhelming. There are also lots of useful tools within your planner. Before you dive into planning browse the pages get familiar with your planner. You want to utilize everything the planner has to offer.
Step Three – Assess Your Life Operations
You have to take a look at your life and assess what aspects need planning. Is it work? family? business? Figuring this out will allow you get an idea of what you will be putting in your planner. I personally use my planner only for family life. I use a separate planning system for my blog. Unless there is a major detail with my blog that involves the family. Example..family photoshoots. This is personal preference you can separate it out or put everything together.
Being a family of 5 we need a solo planner dedicated to all our life’s happenings.
Step Four – Create your system
Group all of your life events in categories, and then you can create a color coding system
Here is my system
Finances – Bill Due Dates, Savings Goals, Automatic Withdrawal Alerts (I always like reminding myself when these are coming out), Family business meetings
Goals – I am serious about holding myself accountable with hitting my goals. In order to do this I write out my goals, and have check points.
Appointments – Between school appoints, doctor appointments this takes up a lot of time.
Health/Fitness – This year I really got serious about my physical health and losing my baby weight. I track when I should be working out, meal plan, and fitness goals.
Work/Business – Like I said I don’t use my family planner for business and work, but I do like to highlight important work related tasks.
Family Life – This is your family trips, birthdays, home projects, kids events.
After you have organized the categories, I would suggest creating a color coding system to use associated with each. This will make each category stand out when putting it in your planner.
Step Five – Writing in the Details
Once you have categorized everything this is when you grab all the kids calendars, business calendars and more and start adding to your planner. I go category by category. Example – I will look only and the kids sports schedules and add all the dates in of that category. This will allow you to stay organized and not miss any detail.
Quick tip: Many planners offer stickers make sure to take advantage of them. This can reduce the amount of writing you have, alert you to important tasks, and make your planner look fun.
Each month I will write in all the details for the upcoming month. Then weekly I check in and update accordingly. You should be doing weekly planner check ins. I would recommend doing this on Sunday before your week starts to make sure you know what is coming up.
The biggest struggle for planning is keeping up with it. Find a system that works for you but make sure it is a regular check in. I have to say I look at my planner daily, but only make major updates weekly.
Whew…this was a lot of information, but hopefully it will help you get started and planning efficiently. Most of the battle is keeping up with it, so make sure to regularly check in with your planner. You can also read my other blog about how I manage our family’s schedule here.
Shop the Post

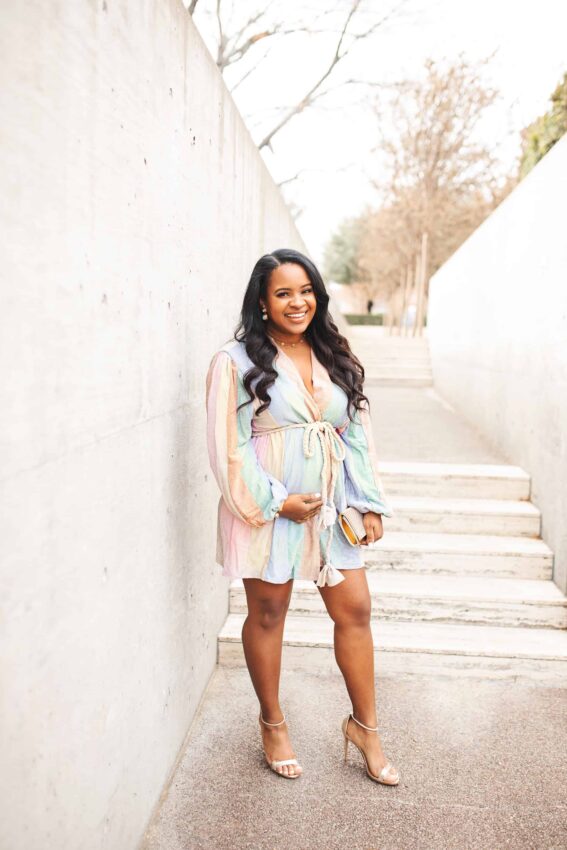
THE DETAILS
All outfit details are linked above by the product name or by clicking the images.
Sweatshirt | Journal |Stickers | Life Planner href="https://rstyle.me/n/dfv3tdb7gs7">Bracelet | Julie Vos Ring | Julie Vos Necklace | Julie Vos Cuff |